This post contains affiliate links. If you buy through them, Coffee & Garden Beds may earn a small commission at no extra cost to you.
Every December the scrap pile behind the fence gets a second life. The offcuts left over from a year of building and fixing raised beds turn into small planter boxes, a seed-saving tray or two, and the odd little shelf for a friend’s windowsill. Theo cuts, I sand, and by the middle of the month the garage smells like cedar and there is a row of handmade things on the workbench waiting to go to people we like.
The building part I have more or less figured out. The wrapping part, for years, was a disaster. This post is about that: how I wrap gifts that are heavy, awkward, a bit dusty and absolutely not shaped like a box.
Why handmade garden gifts are hard to wrap
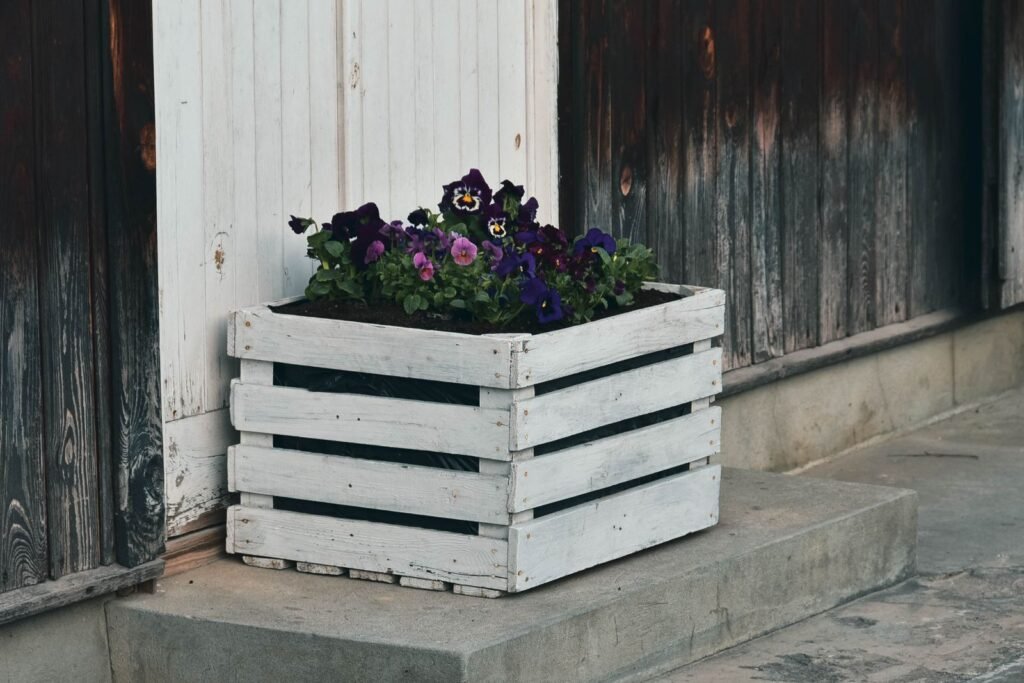
A store-bought present comes in a box. A planter box made from leftover bed boards is a box, technically, but it is open at the top, a little rough at the corners, and heavier than it looks. A bundle of saved seed packets is flat and floppy. A potted herb is round, has soil in it, and cannot be turned upside down.
For a long time I solved this by using whatever paper was left over from last year, a lot of tape, and a gift bag for anything I gave up on. The results looked exactly like what they were: something wrapped in a hurry on the garage floor.
Treat wrapping like a small build
What finally helped was thinking about wrapping the way I think about a weekend build. Measure first. Cut once. Use the right material for the job. And keep everything for the job in one place, so I am not hunting through three drawers for tape while the paper unrolls itself across the floor.
Measure, then cut
I used to cut paper by eye and always ended up with too little on one side and a huge fold on the other. Now I measure the gift the same way I would measure a board: around the widest part plus a little overlap, and the height plus enough to fold over the ends. Paper with grid lines printed on the back makes this much easier, because you can cut a straight line without a ruler, exactly like scoring a line along a board before you saw.
Box the awkward ones first
Anything open, round or soil-filled goes into a plain cardboard box before it gets wrapped. A small planter box sits inside a shipping box with some tissue around it. A potted herb goes into a box with the pot wrapped in an old dish towel so soil cannot escape. Then I wrap the box, which is easy, rather than the gift, which is not.
Clean the gift before you wrap it
Sawdust and soil end up on everything in the garage. A quick brush and a wipe before wrapping saves the paper from that faint brown smudge that appears an hour later.
Let the ribbon do the work on flat gifts
Seed packets and small flat things do not need to be fully wrapped. I stack them, fold one sheet of paper around them like a book cover, and tie them with ribbon. It holds them together and looks deliberate rather than rushed.
One kit instead of three drawers
The single biggest improvement was having everything in one place. A couple of years ago I was given a wrapping kit as a present myself, and it changed how December goes in this house. Now I look for the same thing every year.
Merry Market sells Christmas wrapping kits that put a coordinated set in one box: three rolls of thick matte paper with grid lines on the back, three rolls of ribbon in velvet, satin and grosgrain, and twenty-five gold-foiled letterpress tags. That is enough for twenty-five presents, which is about right for a year of planter boxes and seed bundles. If you want to see the current designs, you can take a look at Merry Market’s wrapping kits.
The grid lines are the part I would not give up now. On a big awkward gift they are the difference between a neat straight edge and a jagged one.
A few finishing touches from the garden
A sprig on top. A small cutting of rosemary or a piece of evergreen tucked under the ribbon looks better than any plastic decoration, and it smells of the garden.
A care note inside. For a planter or a potted herb, I tuck a short handwritten note into the box: where it likes to sit, how often to water, what the wood is. People like knowing.
A tag that says what it is. Especially for seed packets, I write on the tag what is inside, so nobody has to open it to find out it is the tomato they liked in August.
What I would not do again
I would not wrap anything with soil in it without boxing it first. I would not use glossy paper on a heavy wooden gift, because it tears at the corners. And I would not leave wrapping until the last evening before people come over, because rushed wrapping on a handmade gift makes the gift look rushed too.
The part that makes it feel finished
There is a moment every year, usually a Sunday morning in December with coffee on the workbench, when the last box is wrapped and the row of finished gifts is lined up by the door. Theo always says the same thing, that they look too good to have come out of a scrap pile. That is the point. The wrapping is the last coat of finish on the build.
If you are making gifts from the garden or the garage this year, sort the wrapping out before the building is done. You can find Merry Market’s all-in-one kits here, and then measure twice and cut once, the same as everything else in the garage.
Photos: Ylanite Koppens and Grzegorz Sękulski via Pexels.