Lining a Raised Bed Against Burrowing Critters
I was pulling back mulch near the base of one of our older beds on a Sunday morning in May when I noticed a hole about the size of my thumb, right at the base of the wood, angling down and under the bed itself. I got down on my hands and knees and poked a stick into it, and it went back further than I expected, clearly running underneath the bed rather than stopping at the edge. That was the moment I realized none of our first three beds had ever been lined at the bottom against anything digging in from below, and it had simply never occurred to me as a problem until I was staring directly at the evidence.
Why I Never Thought About It Before
When I built the first bed, I was focused entirely on what was happening above the soil line: what boards to use, how tall to build it, how to keep the corners square. It genuinely did not cross my mind that something could dig in from underneath. I think a lot of people picture a raised bed as a box that’s simply full, without thinking about the fact that the bottom of that box is usually open ground, especially if you build it the way I did, directly on top of the existing lawn or soil rather than on a hard surface.
What I Used on the Fourth Bed
By the time we built the fourth bed last fall, I had already decided to do things differently, mostly out of general caution rather than any specific incident at that point. I used a roll of galvanized hardware cloth, the kind with small square openings, cut to size and stapled to the underside of the frame before we ever set it in place or filled it with soil. It’s a purely physical barrier, a layer of metal mesh between the soil in the bed and whatever might try to tunnel up into it from below, and it doesn’t involve anything sprayed or treated, just wire mesh doing its job by simply being in the way.
How I Actually Installed It
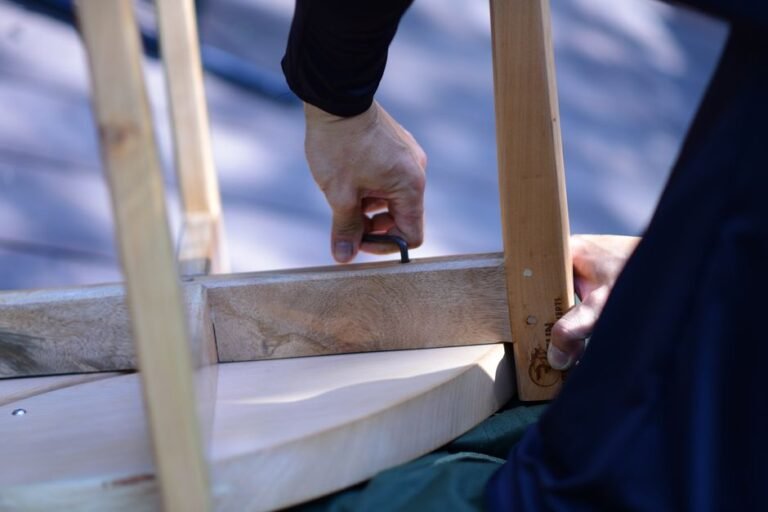
The process was straightforward, if a little more work than I expected. I built the wooden frame first, upside down on a flat surface like the driveway, and rolled the hardware cloth out across the bottom opening with several inches of overlap on every side. I stapled it every few inches around the perimeter, and at the corners I overlapped the mesh rather than trying to cut it into a perfect fit, since any gap at a corner defeats the whole purpose. Once the mesh was secure, I flipped the frame right side up, set it in its final spot, and only then started filling it with soil. Doing the mesh before the frame ever touches the ground made the whole job much easier than trying to work underneath an already-placed bed.
Retrofitting the Older Bed
The bed with the tunnel under it was a different kind of project entirely, since it was already built, already full of soil, and already had plants in it. I ended up doing this one in sections rather than all at once. I dug out a narrow trench along the base of the bed on the outside, worked a strip of hardware cloth down and under the edge of the frame as far as I could reach by hand, and secured it up the outside of the wood with more staples. It’s not as complete a barrier as lining the whole bottom before you build, and I’ll admit it, I was wrong to think a partial fix from the outside would be just as good as doing it properly from below. It’s better than nothing, but it’s clearly not as solid as what I did on the fourth bed from the start.
What Kind of Mesh I Actually Look For
I don’t want to point to a specific brand, since what matters more than the name on the roll is the size of the openings and how sturdy the wire actually feels in your hand. I look for mesh with small enough openings that nothing much bigger than a finger could squeeze through, and I make sure it’s a heavier gauge wire rather than the thin, flimsy stuff, since the thinner mesh tends to bend and tear more easily when you’re stapling it taut across a frame. A hardware store or a big-box home improvement store will usually carry a few different weights side by side, and it’s worth picking up a roll and flexing it a bit in the aisle before you buy, just to get a feel for how much it resists bending under light pressure.
I also learned to buy a bit more than I think I’ll need. The first time I did this project, I cut the mesh almost exactly to size, and I ended up short on one bed because I hadn’t accounted for the overlap at the corners. Now I always buy enough to have a few extra inches of overlap on every side, since it’s much easier to trim excess mesh after the fact than to try to patch a gap with a second small piece that never quite lines up right.
What I’d Tell Someone Building New
If you’re building a raised bed from scratch, my honest advice is to line the bottom with hardware cloth before you ever set the frame down, even if you haven’t seen any evidence of a problem yet. It takes an extra hour of work and a roll of mesh, and it’s far easier to do before the bed is full of dirt than after. I spent six years without lining our beds and never had an issue until I did, and by the time I noticed it, the fix was a lot more work than it would have been if I’d just done it the first time around.