What Six Years Taught Me About Raised Bed Corner Joints
Last week I knelt down in the dirt next to our oldest raised bed with a screwdriver in hand, checking each corner one at a time the way I do every spring before the season really gets going. That bed has been sitting in the same spot for six years now, through freezing winters and soaking wet springs, and I wanted to see how the corners had actually held up compared to the three beds we built after it. What I found was not what I expected going in, and it changed how I think about building the next one.
How the Oldest Bed Was Put Together
When I built that first bed six years ago, I honestly did not think very hard about the corners. I butted the boards together at each corner and drove a few long screws straight through the end of one board into the face of the next. It was the simplest version of a joint I could think of at the time, and I remember being slightly worried it wouldn’t hold. Six years later, three of the four corners are still tight. I can press against them with my hand and feel almost no give at all, which honestly surprised me given how little thought went into building them.
The One Corner That Did Fail
The fourth corner on that same bed is a different story. Sometime in the last couple of years, the screws there started backing out of the wood just slightly, enough that the corner has a small wobble to it now if I push on it with any real force. I think that particular corner sits in the spot that gets the most direct afternoon sun and the most freeze and thaw movement over the winter, since it’s on the side of the yard that doesn’t get any shade from the house. Wood expands and contracts with moisture and temperature, and I suspect that corner simply went through more of that cycling than the other three.
What I Changed on the Newer Beds
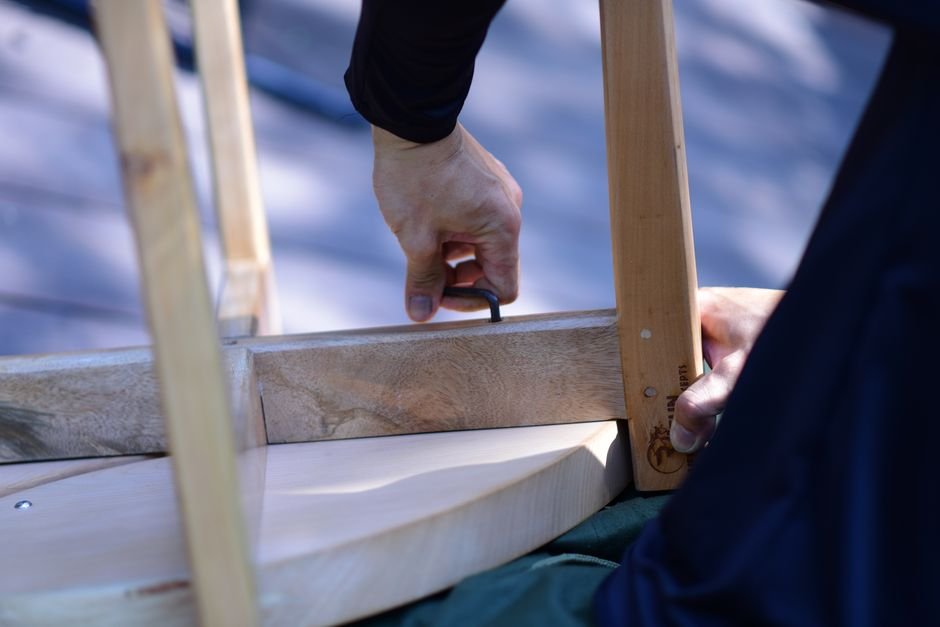
By the time we built the second and third beds, I had read enough and talked to enough people to know that a butt joint held together by screws alone is not the strongest option, even if it held up fine on the first bed. So on the newer beds, I added a wood block in each interior corner, roughly a foot long, that both boards get screwed into from the outside. It effectively doubles the number of screws holding each corner together and gives the wood more surface area to grip. I was proud of this improvement at the time, and for the most part it has paid off. The corners on those beds feel noticeably more solid than the original bed’s corners did even in year one.
Where I Was Actually Wrong
Here is where I have to be honest about a mistake. On the fourth bed, the one built last fall, I used the corner block method again but I got impatient and used shorter screws than I had on beds two and three, mostly because that was what I had left in the box and I didn’t want to make a trip to the store. I told myself the difference wouldn’t matter much. It has only been in the ground a few months, but I can already feel a very slight looseness in one corner that the other beds didn’t have at this point in their life, and I’m fairly confident the shorter screws are the reason. I was wrong to assume that detail didn’t matter, and I’ll be swapping those screws out for longer ones before the season gets going in earnest.
What Actually Held Up Best
If I’m being honest about the whole comparison, the corner blocks on beds two and three have been the clear winner. They’re simple, they don’t require any special joinery skill, and after several years in the ground they still feel as solid as the day we built them. The plain butt joint on the oldest bed did better than I expected, but it clearly has a weak point that the block method doesn’t seem to share. And the shortcut I took on the newest bed is already showing me why shortcuts on fasteners specifically are not worth taking, even when everything else about the build is solid.
How I Check Corners Every Spring Now
After finding that one loose corner on the oldest bed, I started doing a quick corner check every spring before the season really picks up, and it’s become one of those small habits I now do without even thinking about it. I walk to each bed, push against every corner with the flat of my hand, and feel for any give. If a corner flexes even slightly, I mark it with a bit of chalk so I remember to come back with the screwdriver later that same week. It takes maybe ten minutes to check all four beds, and it’s saved me from letting a small wobble turn into an actual structural problem the way it might have if I’d kept ignoring it the way I did for the first few years we had these beds.
I also started keeping a small box of longer screws in the garage specifically for this kind of repair, separate from whatever mix of hardware ends up in the general junk drawer. That sounds like a minor detail, but it means when I find a loose corner I can fix it on the spot instead of putting it off because I don’t have the right length screw on hand. Half of home maintenance, in my experience, comes down to whether the right tool is within reach at the moment you notice the problem, or whether you have to go looking for it and end up doing the job three weeks later than you should have.
What I’d Tell Someone Starting From Scratch
If you’re building a raised bed for the first time, my honest advice after watching four corners age differently over six years is this: don’t skip the corner block, and don’t skimp on screw length to save yourself a trip to the hardware store. It’s a small extra step when you’re first putting the bed together, but it’s the difference between a corner that needs attention in year two and one that’s still solid well past year five. I wish I had known that before I built the first bed, but at least now I have six years of evidence sitting right there in the yard to prove it.